


Article: At Home Facial: The Complete 7-Step Routine (No Appointment Needed)
At Home Facial: The Complete 7-Step Routine (No Appointment Needed)
A professional facial is a sequence, not a product, and most of it is repeatable at home. Seven steps in about thirty minutes, the order that makes each one work, and what a clinic can still do that you cannot.
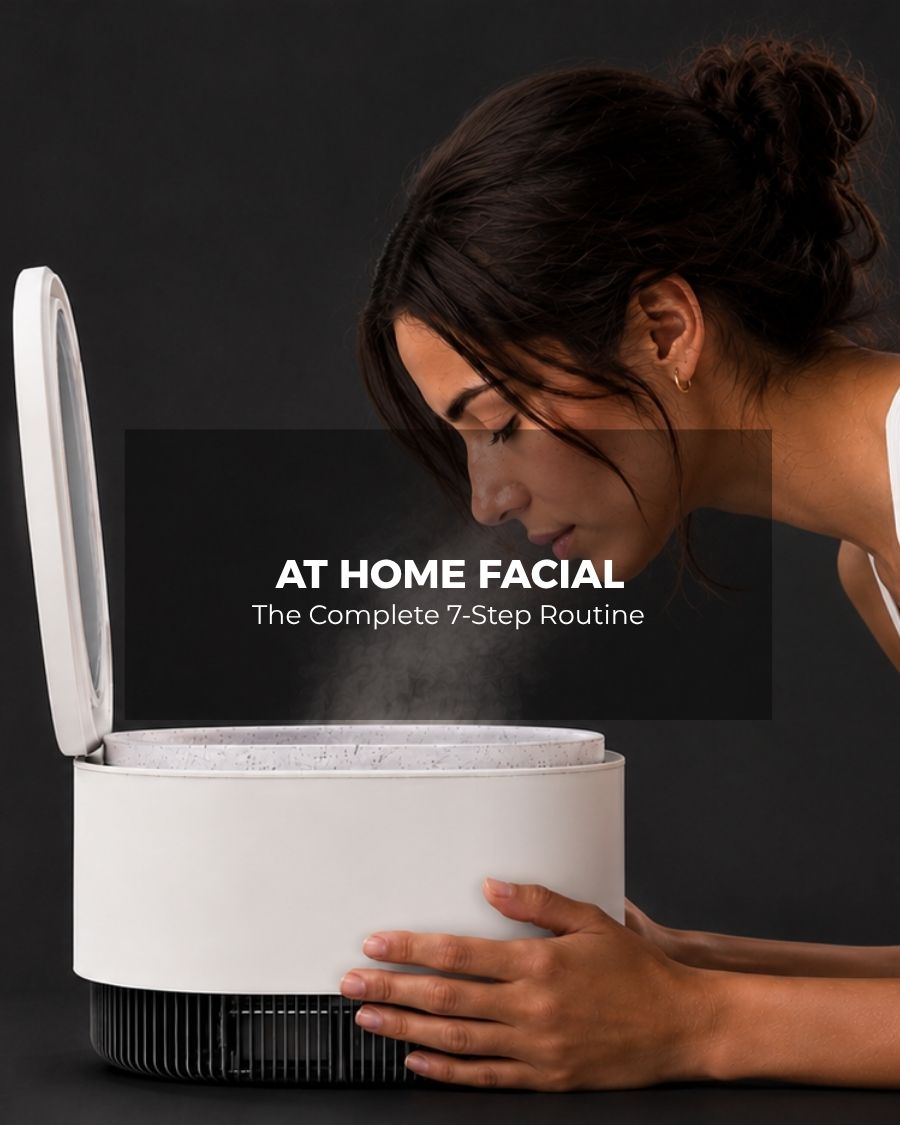
An at home facial is a full-face treatment you perform yourself, in order, usually in about thirty minutes. A complete version has seven steps: cleanse, exfoliate, steam, treat, massage, cool, moisturize. Treat them as a flexible sequence: shorten or skip any step your skin does not tolerate well, especially exfoliation and steam. It will not replicate a clinical treatment, and it does not need to. What it does replicate is the sequence.
What is an at home facial, and what can it realistically do?
A professional facial is a sequence, not a single product. A therapist cleanses, softens, extracts where appropriate, treats, massages and finishes. Most of that sequence is repeatable at home. The parts that are not, extractions and anything involving a device that penetrates the skin, are the parts best left to a professional anyway.

What an at home facial gives you: skin that feels cleaner and softer, a face that looks fresher for the evening or the next morning, and thirty minutes that function as a genuine pause. Those are appearance and comfort outcomes, and they are worth having.
What it does not replace: medical care. A home routine can support healthy-looking skin and can sit alongside a treatment plan, but a facial on its own is not designed to treat a skin condition. If you are dealing with persistent acne, rosacea or pigmentation, start with a dermatologist, who can tell you which steps of this routine suit your skin.
What do you need for an at home facial?
Less than most lists suggest.
- A gentle cleanser. The one you already use is probably fine.
- A mild exfoliant. Chemical or physical, used once. Not both.
- A source of warm steam. A bowl of hot water and a towel works. A facial steamer is easier to control.
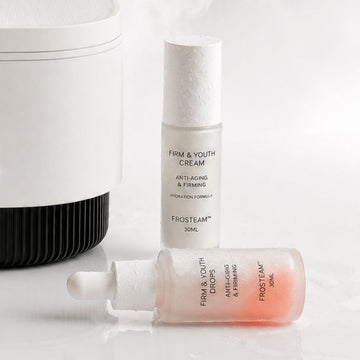
- A treatment step. A mask or a serum, depending on what your skin needs that day.
- A facial oil or slip-rich moisturizer for the massage.
- A cold source. A bowl of cold water, a chilled tool, or a dedicated cold phase.
- A moisturizer to close.
Notice what is not on the list: eight serums, a light device, and a cabinet of single-use sachets. The sequence does the work.
What are the 7 steps of an at home facial, in order?
Step 1: Cleanse (2 minutes)
Remove makeup first, then cleanse with lukewarm water. The American Academy of Dermatology recommends lukewarm rather than hot water and patting dry rather than rubbing. Starting on a bare, clean face is what makes every following step work.
Step 2: Exfoliate, gently (2 minutes)
Once. Lightly. This is the step people overdo, and overdoing it is what turns a nice evening into three days of sensitivity. If your skin is reactive or you exfoliated in the last two days, skip this step entirely. The facial still works.
Step 3: Steam (5 to 10 minutes)
Warm mist softens the skin's surface and leaves it feeling more supple, which is why most routines place this step before the mask or serum. Sit 20 to 30 cm from the source. It should feel like a warm breath, never hot. Five minutes is enough for most people and ten is the ceiling.

Step 4: Treat (10 minutes)
This is where a mask or a targeted serum goes, on skin that is warm and soft. Choose one thing. A hydrating mask if your skin feels tight, a clay mask if it feels congested, a serum if you would rather keep it simple. Leave it for the time on the label, not longer.
Step 5: Massage (5 minutes)
Rinse or remove the treatment, apply a facial oil for slip, and work light strokes from the centre of the face outward, then down the neck. Always finish each stroke by carrying it downward. This is the step that makes an at home facial feel like a facial rather than a sequence of products.
Step 6: Cool (1 minute)
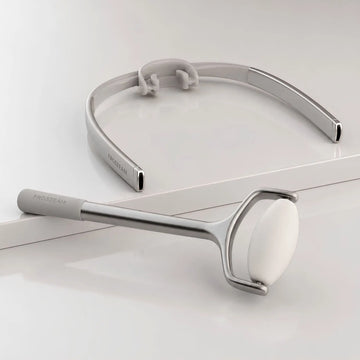
The step most people skip. After warmth, a short cold phase can leave skin looking temporarily fresher, tighter and less puffy; the effect varies from person to person. The traditional version is a bowl of cold water. The controlled version holds a set temperature so the finish is the same every time.
Step 7: Moisturize (1 minute)
While skin is still slightly damp. Dermatologists advise moisturizing while the skin is damp after washing, because it helps hold that water in. Skipping it can leave skin feeling tight or dry after the steam and the mask, which is why it closes the routine.
How long should an at home facial take?
About thirty minutes end to end. You can compress it to fifteen by shortening the steam and the mask, and you can stretch it to forty-five if the massage is the part you are doing it for.
What matters more than the total is the order. Cleanse before exfoliate. Steam before treat. Massage before cool. Moisturize last. Each of those has a reason, and following the order makes every step easier to do well.
If thirty minutes is not realistic on a weeknight, there is a shorter version built around the warm and cold phases only. We laid it out in the 10-minute hot and cold ritual.
At home facial vs professional facial: what is the real difference?
| At home | Professional | |
|---|---|---|
| Cost per session | The cost of products you own | Typically 90 to 200 dollars |
| Frequency most people manage | Weekly or every two weeks | Every 4 to 6 weeks at best |
| Extractions | Not recommended | Yes, by a trained therapist |
| Clinical devices | No | Yes, depending on the clinic |
| Consistency over a year | High, if the routine is short enough | Depends on your schedule and budget |
The honest conclusion is that they answer different questions and work well together. A professional facial brings expertise, extractions and clinical tools that a home routine does not. An at home facial brings regularity, with a short ritual you can repeat between appointments. Many people combine the two: a professional treatment from time to time, and a short home ritual every week.
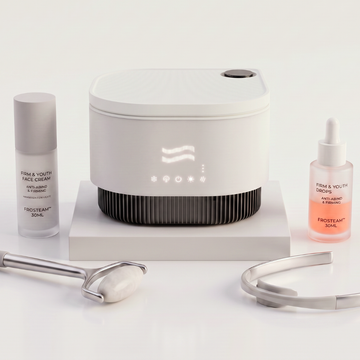
The reason we built steam, a 1 to 4°C cold phase and aromatherapy into one device is that steps three, six and the sensory part of the ritual were the three that people gave up on first when they required separate equipment. Shop Harmony.
How often should you do an at home facial?
Once a week suits most people. Every two weeks is fine. More than once a week only works if you drop the exfoliation step, which is the one with a real ceiling.
A useful way to think about it: the full seven-step facial weekly, and the short warm and cold ritual on two other evenings. That gives you three touchpoints a week without asking your skin to tolerate three exfoliations.
Which mistakes ruin an at home facial?
Exfoliating twice. A scrub and an acid in the same session is the single most common way people end a facial with irritated skin.
Steaming too long or too close. Ten minutes is the ceiling and 20 cm is the minimum distance. Hot is not better.
Extracting. Squeezing at home can turn a clogged pore into a mark that lasts weeks. Steam leaves skin feeling softer, but it does not clear pores on its own. Leave extractions to a professional.
Leaving a mask until it cracks. A dry mask pulls water back out of the skin. Follow the label.
Skipping the moisturizer. Covered above: it is the step that helps skin stay comfortable after everything else.
Doing it the night before something important. Any routine that includes exfoliation deserves a two-day buffer. Do your facial on a Sunday, not the evening before the event.
If glow is your main objective rather than deep cleansing, the priorities shift slightly. We covered them in how to get glowing skin. And if the cold step is the part you want to understand properly, start with what cold water really does for your face.
Sources
- American Academy of Dermatology Association. Face washing 101.
- American Academy of Dermatology Association. Dermatologists' tips for relieving dry skin.


Leave a comment
This site is protected by hCaptcha and the hCaptcha Privacy Policy and Terms of Service apply.